

You're standing on a deck with an open sightline, a tape measure, and a dozen rendering tabs on your phone. Every design looks clean from a distance. None quite explains where the cables terminate, how the stair railing meets the landing, or whether a wood top will look right beside satin or mirror stainless steel.
Real installations make better design references because you can inspect the connections. A post base tells you where the system mounts. A corner reveals whether the handrail changes direction cleanly. A close-up of a terminal shows whether you'll have room to adjust cable tension after installation.
Use these stainless steel cable railing pictures as specification references, not just inspiration. Each pairs a catalog example with a decision you can copy: mounting location, handrail material, finish, or kit selection. The important comparison isn't which railing looks most expensive. It's which configuration suits your structure, your exposure conditions, and the work you're prepared to maintain.
Table of Contents
- 1. Cable Railing - Indoor Stainless Steel 36" or 42" System - High End Custom Railing
- 2. Cable Railing - Stainless Steel With Blue Wood Top 8' Deck Mounted Stair Section
- 3. Cable Railing - Stainless Steel With Blue Wood Top 8' Deck Mounted Straight Section
- 4. Cable Railing - Stainless Steel With Light Wood Top 8' Deck Mounted Corner Section
- 5. Cable Railing - Stainless Steel With Blue Wood Top 8' Deck Mounted Corner Section
- How the five cable railing systems differ by section type, handrail top, and the decision each supports
- Turning These Pictures Into Your Railing Plan
1. Cable Railing - Indoor Stainless Steel 36" or 42" System - High End Custom Railing
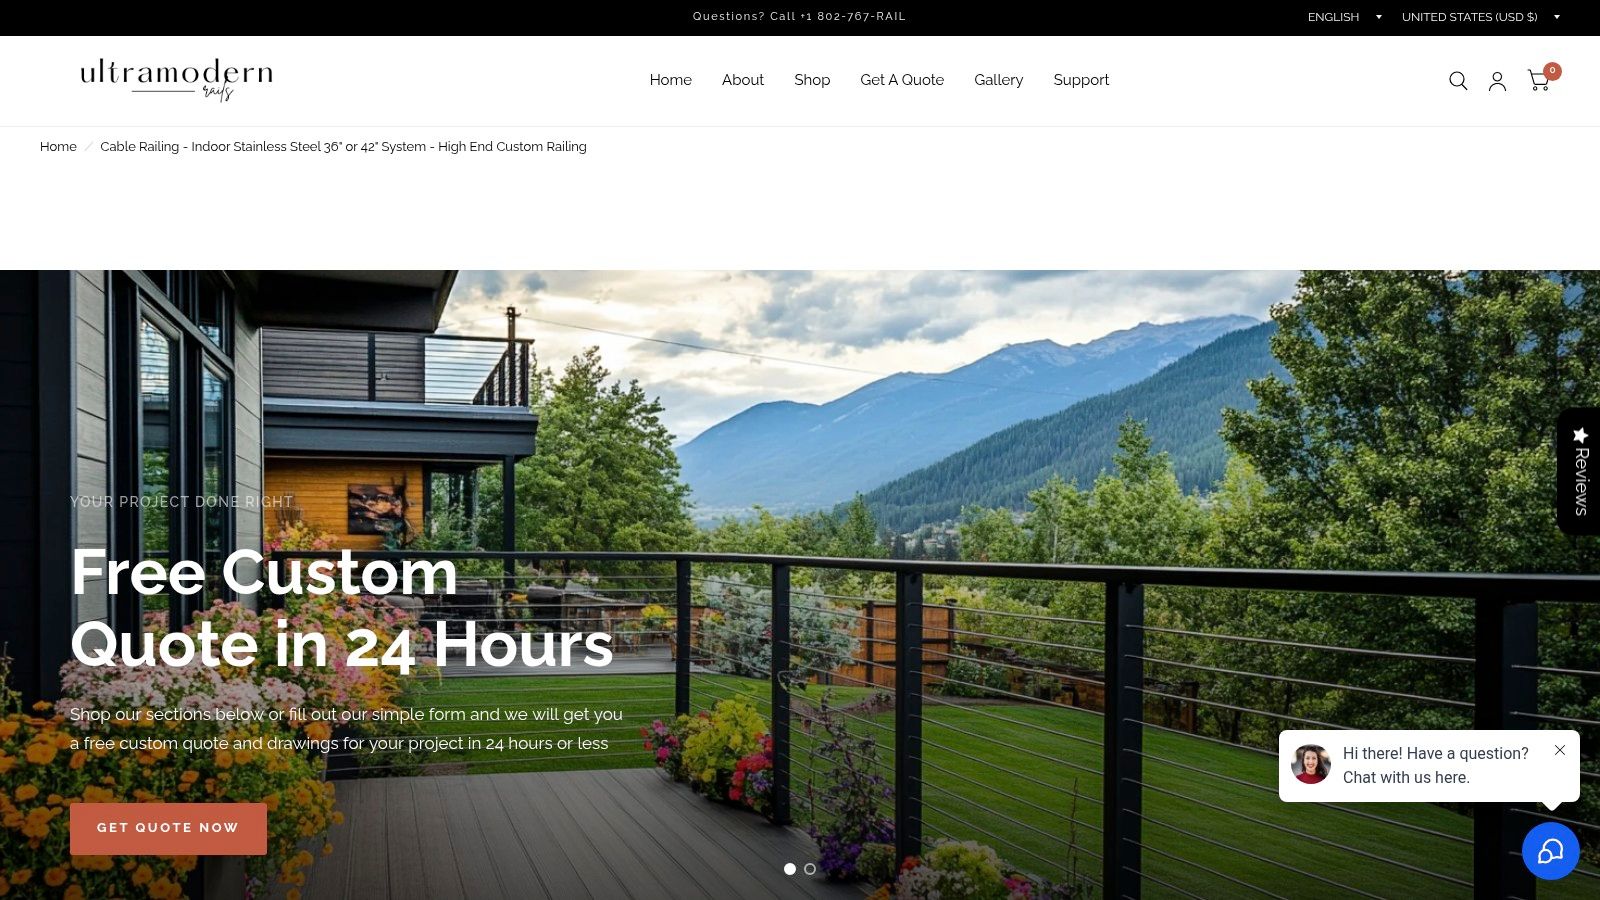
Best fit: a custom interior where the railing needs to complement substantial architectural finishes. Ultra Modern Rails describes the Cable Railing - Indoor Stainless Steel 36" or 42" System - High End Custom Railing as a mountain-lodge installation, with deck-mounted posts and a choice of wood or metal handrail.
The useful design decision is the contrast between a visually light cable infill and a more substantial top rail. Wood can connect the railing to flooring, stair treads, or exposed beams. Metal keeps the assembly visually consistent, particularly where the surrounding room already contains several wood species.
Start With the Base Connection
Deck mounting means mounting through the finished surface into suitable structure, not fastening to floorboards. Before copying the appearance, establish what sits beneath each post location. The installer needs access to the supporting framing, a compatible anchorage detail, and enough clearance to install the specified fasteners.
Guard height also needs an early decision. The Decks.com guide to deck railing codes identifies a general 36-inch residential guard minimum and a common 42-inch minimum for commercial and multifamily applications, subject to the locally adopted code.
Don't select height solely to match a photograph. Confirm the occupancy, walking surface, and local requirements before the post layout becomes an order.
Specifier's recommendation: Choose the anchorage and required guard height before choosing the finish. Those decisions determine whether the attractive arrangement can actually be built.
Compare the Top and Finish Together
The catalog offers satin or mirror stainless steel, and the wood handrail arrives sanded and unfinished. That unfinished surface lets the installer coordinate the stain or clear finish on site, but it also adds finishing work before handover.
- Choose wood for continuity: Match a sample against the actual floor or tread, not a screen image.
- Choose metal for consistency: Review joints, end caps, and transitions as carefully as the straight rail.
- Choose satin for a quieter appearance: Compare it under the room's actual lighting.
- Choose mirror for reflection: Check what windows and light fittings will reflect in the surface.
For an exterior counterpart, compare the custom outdoor stainless steel system. Keep the visual language consistent, but have the supplier confirm exterior exposure, anchorage, and finish suitability independently.
Ordering decision: Measure every level and stair run separately, identify the transitions, and round up to the nearest offered kit length. Let the supplier confirm how those lengths translate into finished post positions.
2. Cable Railing - Stainless Steel With Blue Wood Top 8' Deck Mounted Stair Section
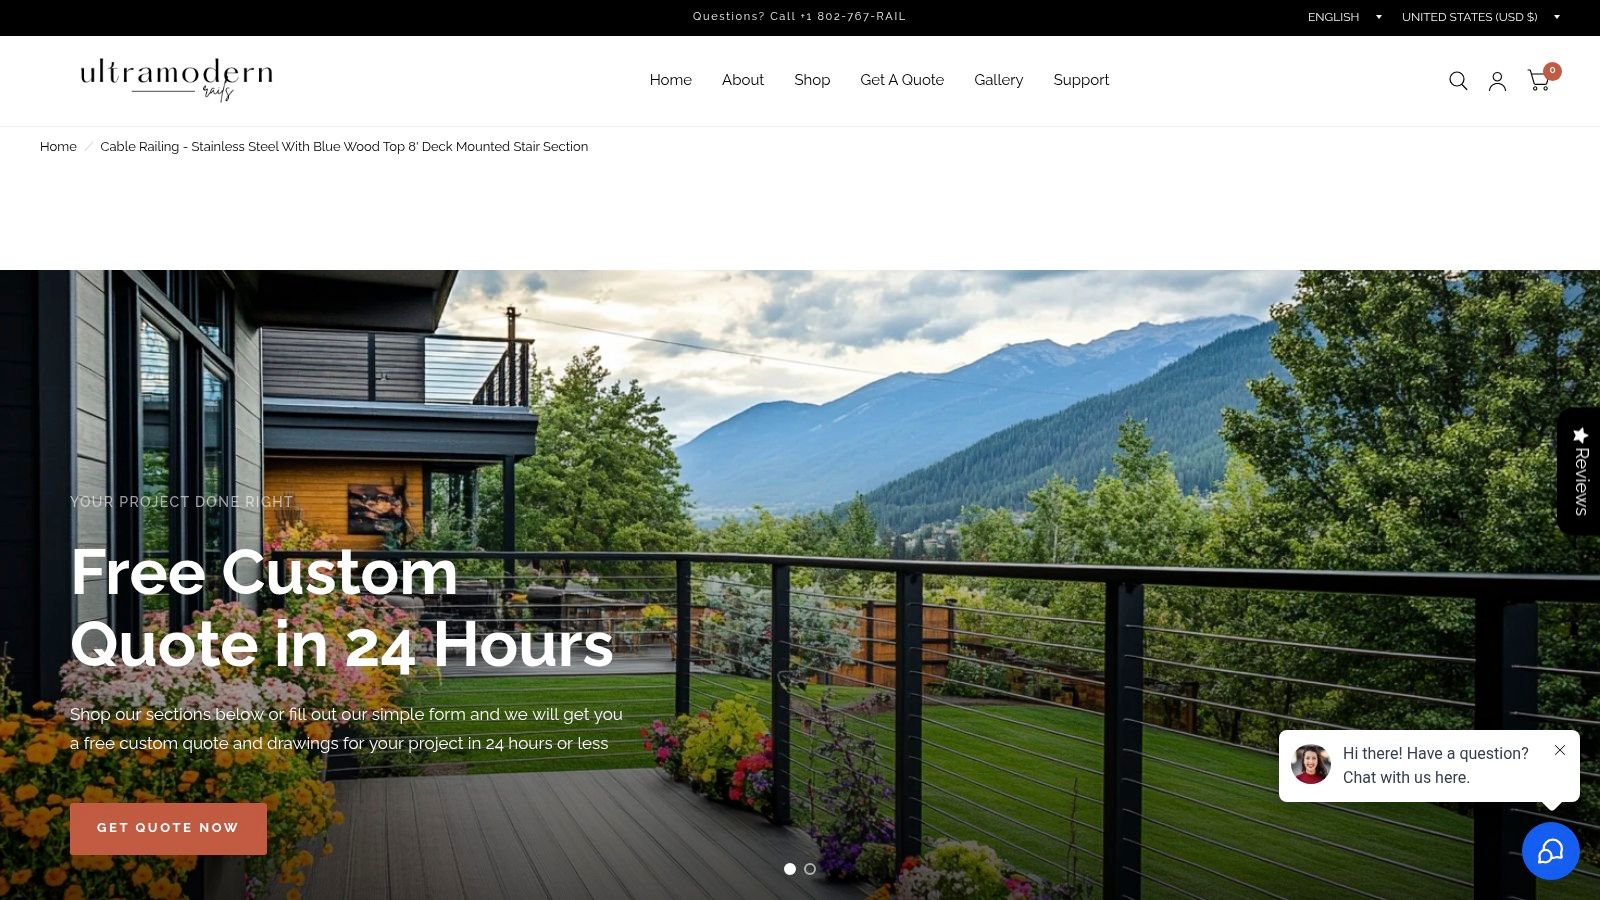
A stair section needs more information than a straight deck edge. With the blue wood-top deck-mounted stair section, the key comparison is between a coordinated appearance and the extra geometry required by a sloping run.
The wood top gives the stair a distinct visual line above the cables, which works well when you want the stair route to read clearly against the surrounding deck. Confirm how the blue appearance will be achieved, because the catalog states that wood handrails arrive sanded and unfinished.
Measure the Slope, Not Just the Opening
Record the stair rise, horizontal run, intended post positions, and sloping rail length. Send a side-view photograph with those dimensions marked. A tape stretched across the landing won't describe the length or angle of the stair assembly.
Check the landing connection before ordering. The upper post must accommodate the change from sloping cables to level cables, while the rail transition must suit the intended handrail arrangement. Treat the guard height and the stair-handrail requirement as two separate checks.
Cable deflection matters as much as a tidy line in a photograph. The Nevada County cable-railing handout specifies support spacing of no more than 4 feet and cable spacing of no more than 3 inches for the installation it describes; treat those as jurisdiction-specific details rather than universal kit settings.
- Document the stair angle: Give the supplier rise and run rather than an estimated angle.
- Locate the terminals: Leave access for the installation tool and future adjustment.
- Check the transition: Show where the stair rail meets the landing rail.
- Confirm the gripping surface: Ask whether a separate graspable handrail is required.
Stair geometry sets its own drilling pattern, fittings, and rail transitions. Confirm all three for the actual slope before ordering.
For a less color-led treatment, compare the light wood-top stair section. The practical choice is whether the top should stand out as an accent or blend with nearby timber.
Trade-off: A wood top offers finish flexibility, but the installer must coordinate coating, end-grain protection, and touch-ups. Wait for the supplier to confirm which stair measurement governs the order before fixing the kit length.
3. Cable Railing - Stainless Steel With Blue Wood Top 8' Deck Mounted Straight Section
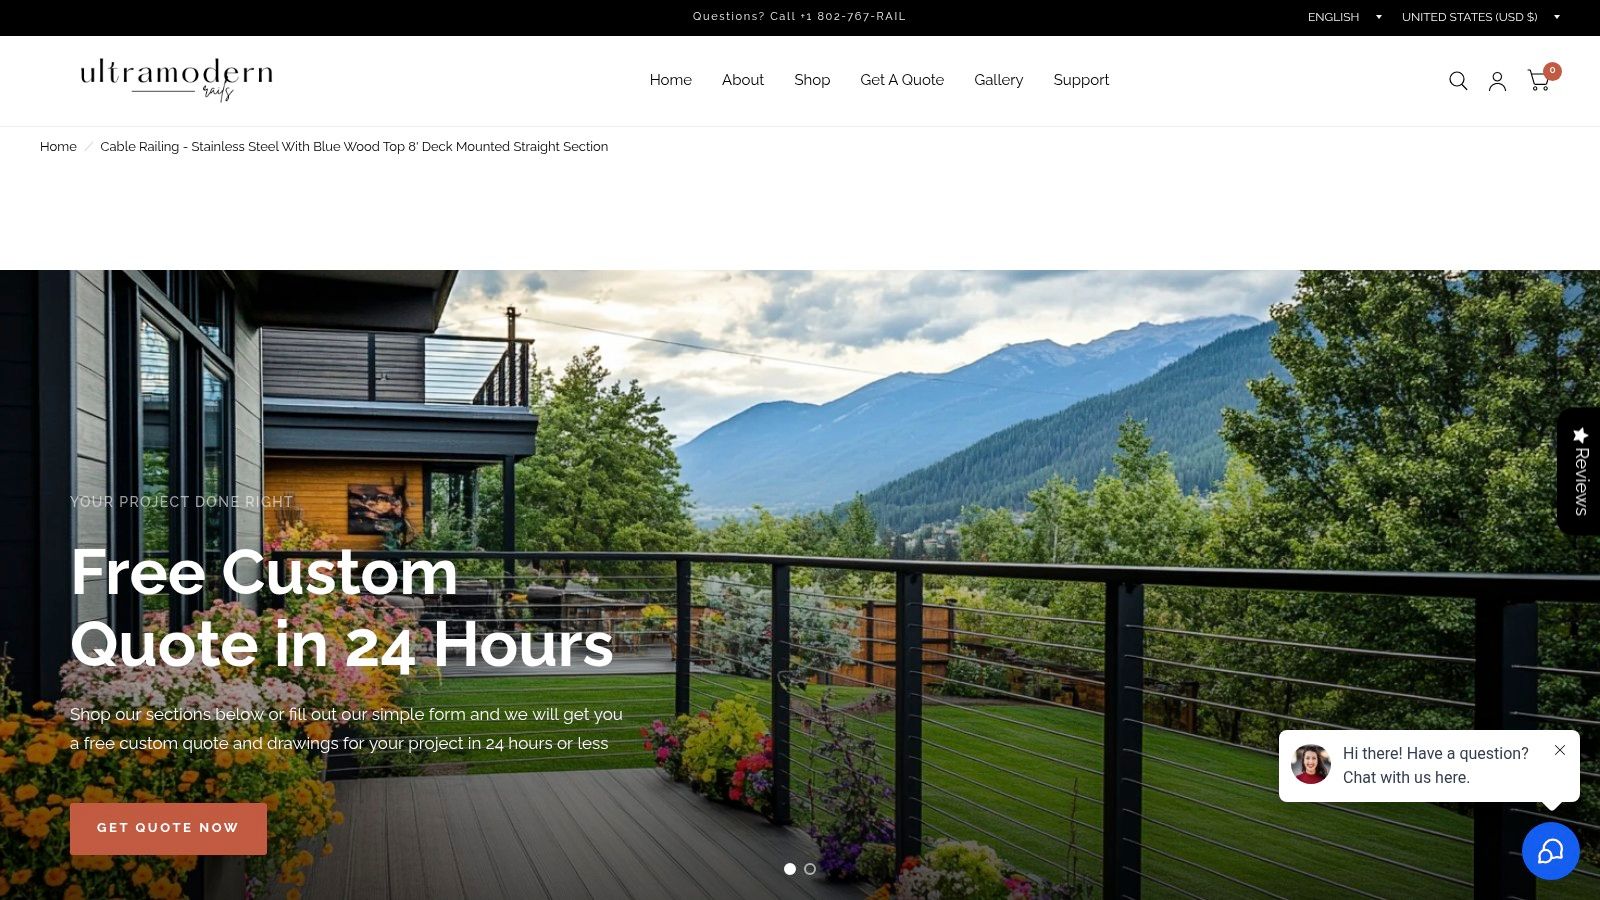
A straight run is the clearest place to compare sightlines, post rhythm, and top-rail color. The blue wood-top deck-mounted straight section gives you a level reference without the additional complications of stair pitch or a corner.
Evaluate it from seated height as well as standing height. The top rail may cross a different part of the view when you're sitting at a dining table. A strong color can frame the scenery deliberately, while a quieter wood finish may compete less with it.
Don't Confuse Kit Length With Unsupported Span
The length in a catalog title describes the section being ordered. It doesn't, by itself, establish the permitted distance between supporting posts. Have the supplier mark intermediate supports and terminal posts on the drawing.
This distinction matters because the end posts receive cable tension, while the full assembly must transfer applied loads into the structure. A New York State Department of Transportation railing specification includes a 200 lb concentrated-load benchmark, illustrating why a railing specification addresses the complete load path rather than cable appearance alone.
For a useful installation record, photograph the terminal fitting, post base, and top-rail joint. A wide shot can show alignment, but it won't establish whether the anchors engage suitable framing or whether the installer can reach the tensioning hardware.
- Measure the finished run: Identify whether dimensions refer to the deck edge, post centers, or another datum.
- Mark obstructions: Include door swings, trim, drainage outlets, and changes in deck level.
- Show support locations: Coordinate them with framing before drilling the finished decking.
Decide Whether the Top Should Be an Accent
Compare the blue treatment with the light wood-top straight section. Use physical finish samples beside the deck boards and siding, because a photograph can shift both wood color and stainless reflectivity.
What works: A deliberate top-rail color repeated elsewhere in the exterior palette. What doesn't: Choosing a color from a product thumbnail and expecting unfinished timber to arrive with that exact appearance.
Order the nearest suitable kit length rounded up, but don't add separate allowances indiscriminately. Give the supplier the actual dimensions and let the approved drawing establish cuts, terminal positions, and the finished assembly length.
4. Cable Railing - Stainless Steel With Light Wood Top 8' Deck Mounted Corner Section
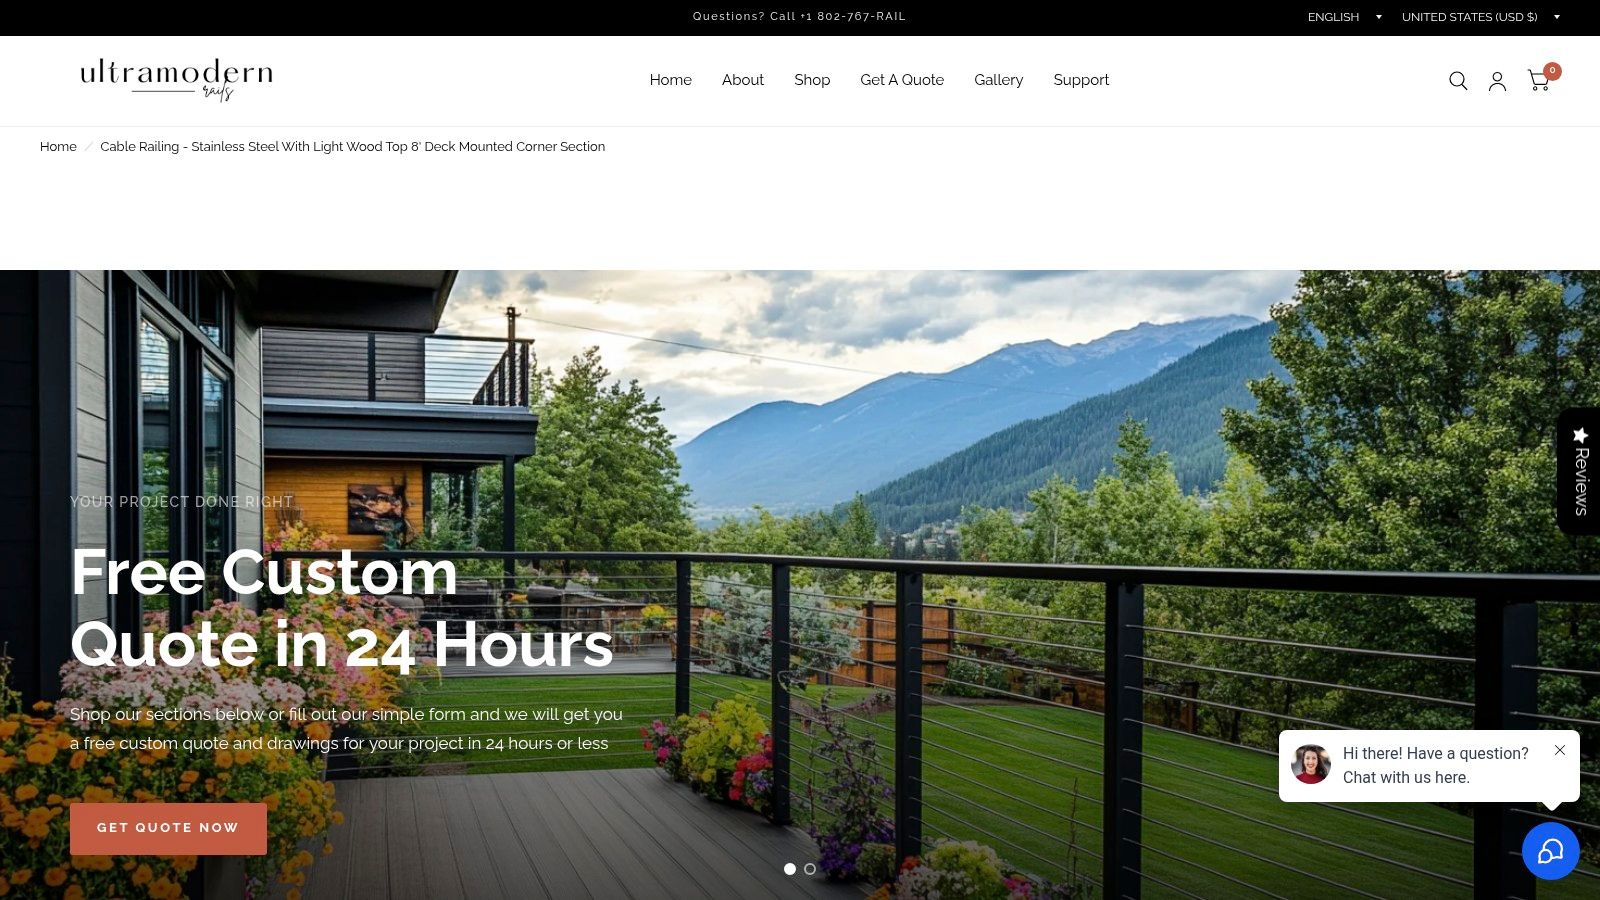
Look at the corner before looking at the view. The light wood-top deck-mounted corner section makes the change in direction the central specification question: how do the cables, posts, and wood top resolve at the turn?
A light wood top can soften the metal assembly without introducing a strong painted accent. The trade-off is that the timber joint remains a visible piece of finish carpentry. An uneven miter or exposed unfinished end grain can draw more attention than the cable infill.
Specify the Corner as a Connection
Ask whether the design uses a shared corner post, paired posts, or another engineered arrangement. Don't assume cables can pass around a corner because the photograph makes the turn look continuous. The hardware and post design must support the intended routing and tensioning method.
Measure each adjoining side separately and record the actual angle. Existing decks aren't always square, and nearby trim can prevent a base plate from sitting where the plan initially suggests.
Corner check: Confirm that the installer can reach every terminal after both adjoining sections are in place.
For exterior work, the finish decision also needs an exposure check. An ASCE coastal stainless-steel case studyAE.1943-5568.0000554) describes significant localized corrosion on a 316L stainless-steel railing approximately 400 m from the sea in Genoa, where a rough surface finish was unsuitable for the marine-urban atmosphere.
That finding doesn't mean every coastal railing will behave the same way. It means alloy, surface finish, detailing, and cleaning access must be considered together rather than treating the word stainless as a maintenance guarantee.
- Inspect the crevices: Review rail brackets, post bases, and terminal recesses.
- Plan the wood joint: Agree on the corner cut, fastening method, and finish treatment.
- Preserve access: Avoid locating terminals where walls or trim block adjustment.
- Order adjoining runs together: Let the supplier coordinate the corner rather than treating each side as unrelated.
Best use: A deck where natural timber is already part of the architecture. For exposed settings, select the wood coating and stainless care routine alongside the appearance, not after installation.
5. Cable Railing - Stainless Steel With Blue Wood Top 8' Deck Mounted Corner Section
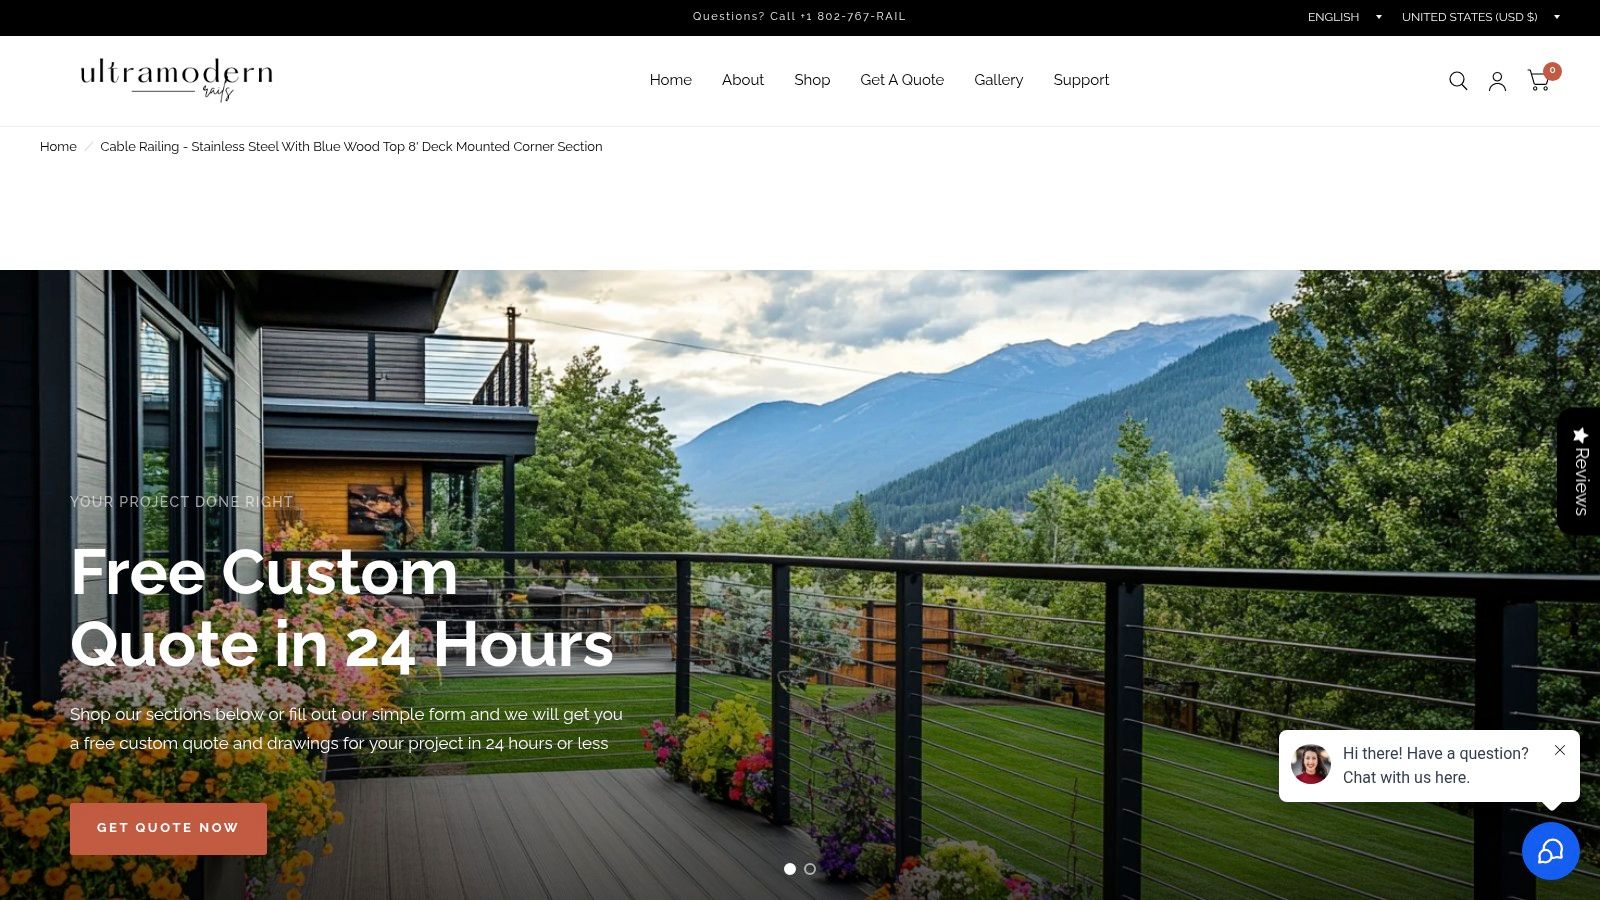
Choose the blue wood-top deck-mounted corner section when you want the top rail to define the deck perimeter rather than disappear into the timber palette. A light wood top blends into the boards. The blue top reads as an accent line, and the corner is where that line either carries cleanly around the turn or shows every mismatch.
The color has more visual weight than a natural finish, so continuity around the corner decides whether the system looks intentional. Prepare a sample on the specified wood and inspect it outdoors in the same light the deck gets. A sheen or tone difference that looks minor indoors becomes obvious along a long run, and the turn concentrates that line of sight in one place.
Photograph the Corner at Handover
A corner is a useful inspection point because several materials and connections meet there. The handover photographs give the owner a baseline for later checks, so capture the junction rather than only the finished elevation.
- Wood joint: the corner cut and how the two adjoining tops meet.
- Rail brackets: the fixings on both sides of the turn.
- Cable terminals: each terminal accessible after both runs are in place.
- Post bases: the base plates at and around the corner.
The Deck Specialist discussion of railing trends identifies safety and long-term structural performance as important alongside aesthetics. For a buyer comparing stainless steel cable railing pictures, that means asking for service and care information, not just another photograph of a new installation.
Match the Care Plan to a Colored Finish
A colored wood top and stainless components need separate care instructions. Use a coating suited to the wood and exposure, and obtain compatible cleaning guidance for the metal. A cleaner suitable for the deck boards may not suit the railing fittings.
The catalog describes installation tools, including a hydraulic tool and cable cutters, as part of the section package. Confirm the tool and fitting combination before starting, and follow the assembly's tensioning sequence rather than tightening each cable by feel.
Trade-off: The blue top is a deliberate accent that asks more of the finish over time. It suits a deck where color is part of the design and the owner accepts the upkeep that coating line demands.
How the five cable railing systems differ by section type, handrail top, and the decision each supports
Read the table as a specification shortlist: each row answers a different question about mounting, top finish, or geometry.
| System | Handrail Top | Decision It Settles |
|---|---|---|
| Indoor 36" or 42" custom system | Wood or metal | Interior rail height and top material |
| Blue wood top 8' deck-mounted stair section | Blue wood | Stair-run layout and terminal positions on a slope |
| Blue wood top 8' deck-mounted straight section | Blue wood | One straight run at the offered kit length |
| Light wood top 8' deck-mounted corner section | Light wood | The turn between two runs in a neutral finish |
| Blue wood top 8' deck-mounted corner section | Blue wood | The same turn with the accent finish |
Pick by geometry first and finish second. The corner pair differs only in top color, while the stair and straight rows share the blue top yet solve different runs.
Turning These Pictures Into Your Railing Plan
Before pricing, decide which run controls the layout. On many decks it is the stair or the corner, because terminals, top-rail joints, and post spacing have the least freedom there.
Use the saved pictures to lock choices that still affect hardware, labor, and care:
- Set posts on structure: confirm each post lands on framing or added blocking; deck boards alone are not structure.
- Mark terminal access: leave room to tension cable and keep end fittings clear of walls, posts, and stairs.
- Choose the top by upkeep: wood allows on-site color coordination; metal avoids a separate wood-finishing task.
- Match finish to light: compare satin and mirror samples in the actual exposure and against nearby finishes.
- Confirm the local limits: verify guard height, opening limits, anchorage, and inspection needs before drilling.
- Ask for care guidance: request cleaning and hardware checks for pool, coastal, indoor, or high-traffic use.
A clean photograph shows appearance, not compliance or maintenance-free service. Ask for installation instructions, structural documentation, and the final drawing that shows corners, stair transitions, terminal locations, and unfinished wood treatment.
Ultra Modern Rails returns a free custom quote and drawing within 24 hours, so send site photos, the controlling run, mounting style, finish, and top material in one request.
Ultra Modern Rails offers custom-made cable railing systems with coordinated sections, mounting options, and wood or metal tops for indoor and outdoor projects. Visit Ultra Modern Rails with your measured sketch and preferred reference pictures to request a free custom quote before placing your order.