

You're reviewing a coastal balcony detail, and the spigot schedule looks straightforward: stainless steel, brushed finish, concealed fixings. Then the installer asks where the anchors land, the owner asks whether the hardware needs washing, and the glass supplier requests the exact clamp specification. The fitting hasn't changed, but the decision has become a lot bigger than its appearance.
Table of Contents
- Why Spigot Choice Matters More Than Most Specifiers Realize
- What a Spigot Does in a Modern Balustrade
- Common Spigot Mount Styles and Where Each One Fits
- Stainless Steel Grades and Finishes Explained
- Load Ratings, Glass Compatibility, and Inspection Items
- Matching Spigots to the Environment They Sit In
- A Practical Specification Checklist for Architects and Contractors
- The Maintenance Routine Most Owners Skip Until It Is Too Late
Why Spigot Choice Matters More Than Most Specifiers Realize
For that balcony, start with the conditions around the fitting rather than the photograph in the catalog. Will rain reach the base? Can cleaners rinse behind the glass? Is the mounting surface structural, or is it a finish layer over something the installer hasn't inspected?
These are specification questions, not details to leave until installation. Stainless steel spigots belong in an assembly specification, alongside the infill, substrate, anchorage, drainage, and maintenance requirements.
The design conversation should happen while the mounting detail can still change.
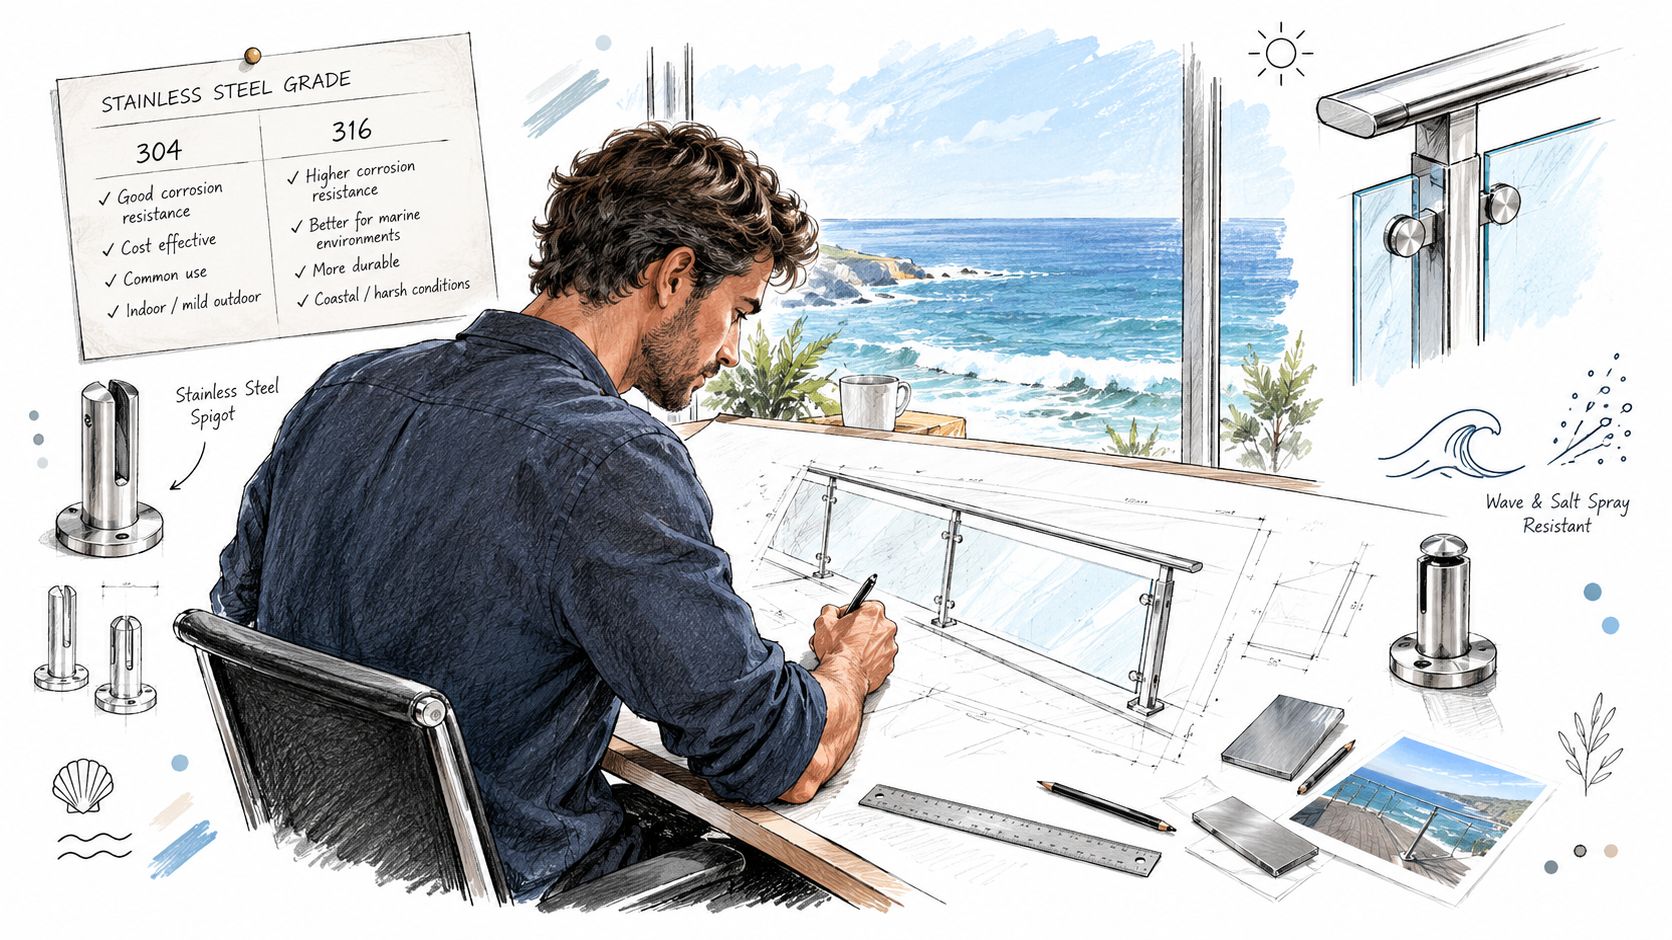
Start with the interfaces
A short fitting can look less substantial than a full-height post, but visual size isn't a basis for deciding structural suitability. Ask the supplier to identify precisely how the proposed assembly transfers loads from the infill into the supporting construction.
The useful questions are specific:
- At the infill: Does the fitting match the specified glass assembly or cable termination?
- At the base: Can the installer achieve the approved fixing arrangement without changing edge distances or penetrating an unresolved waterproofing detail?
- During ownership: Can someone reach the hardware to clean it, inspect it, and address defects?
An attractive base cover shouldn't prevent those questions from being answered. Ask for an uncovered assembly drawing, not just a finished elevation.
Practical rule: Approve the complete connection before approving the visible fitting.
Compare complete proposals
A meaningful comparison includes the proposed spigot, compatible components, fixing details, installation instructions, and inspection access. A quotation containing only a hardware description leaves too much unresolved.
For a contractor, the immediate benefit is a clearer installation scope. For an architect, it's a defensible detail that connects appearance with performance. For the owner, it establishes what must remain accessible after the surrounding finishes are complete.
The working vocabulary matters because suppliers don't always use spigot, post, standoff, and socket to describe the same components.
What a Spigot Does in a Modern Balustrade
In balustrade work, a spigot generally means a compact fitting that connects an infill component, most recognizably a glass panel, to its support. Similar to a small bracket in a curtain-wall assembly, it is visually discreet but important enough that its connections need explicit design attention.
Use the diagram as a vocabulary guide, not evidence that a single fitting can perform every illustrated role.
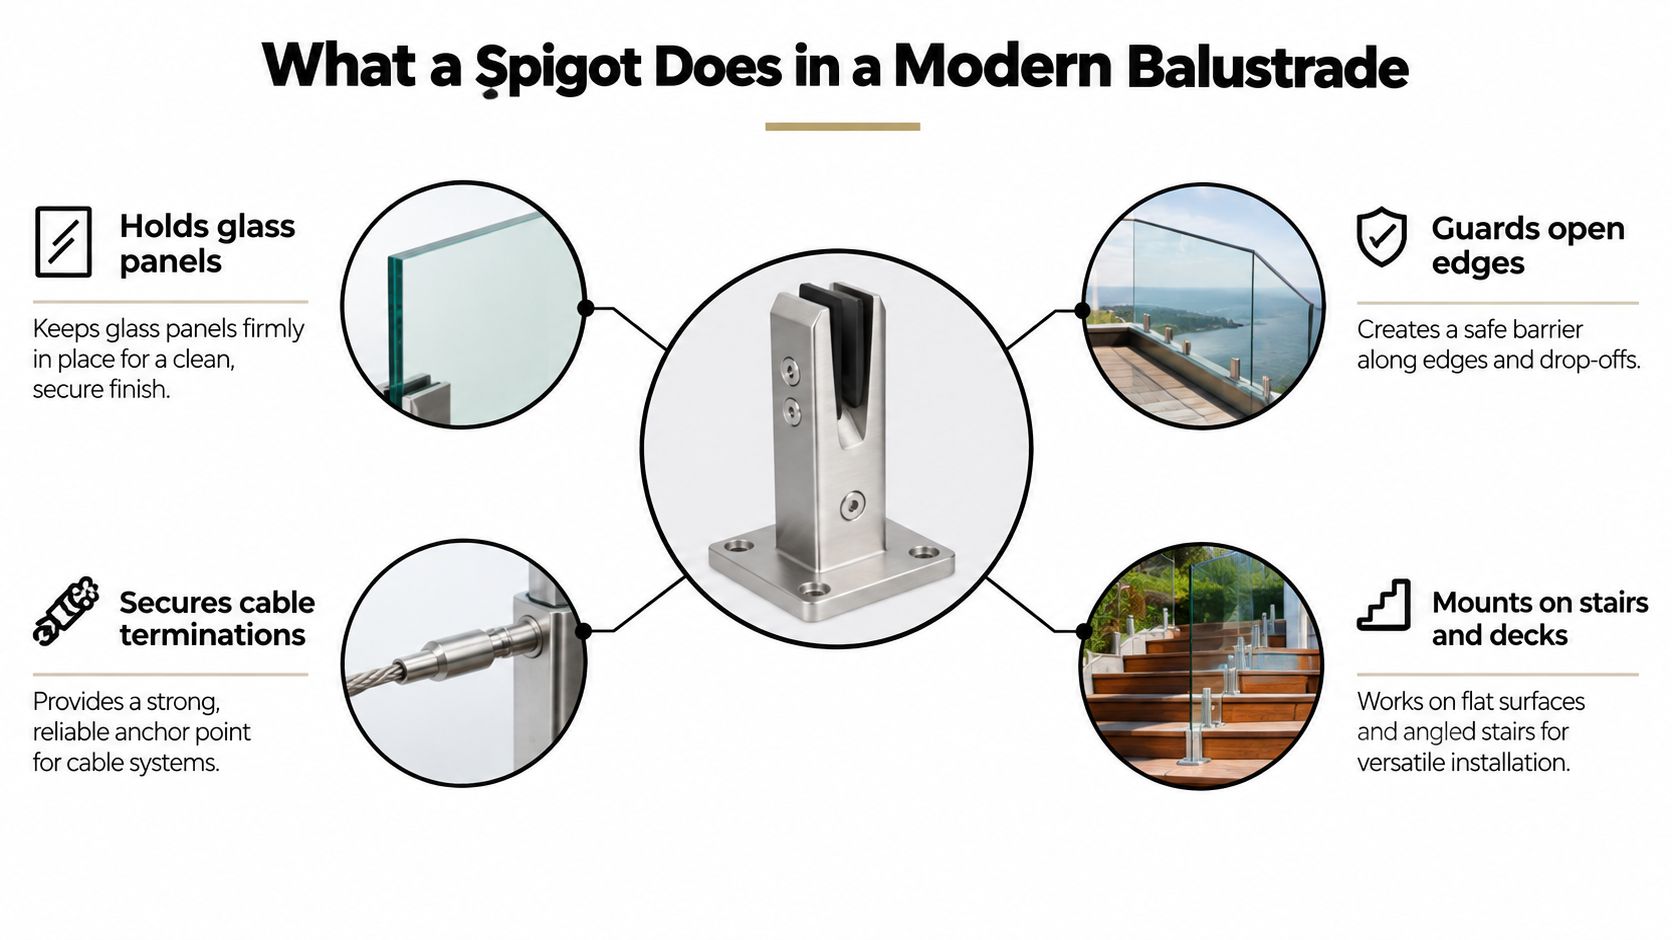
Glass fittings and cable connections aren't interchangeable
For glass, establish the approved panel construction, retaining arrangement, and interface components. Don't assume that a fitting which accepts a panel physically is approved to support that panel in the proposed guard.
For cable, ask the supplier what its terminology means. A cable termination fitting, a supporting post, and a glass spigot aren't interchangeable merely because they share a stainless finish. Require a drawing showing the end and corner connections rather than specifying a generic “cable spigot.”
Hybrid guards need the same discipline. Where glass, cable, and another infill meet, identify which component supports each part and which supplier takes responsibility for the combined detail.
Read the assembly from infill to structure
A useful shop-drawing review follows the connection in sequence:
- Retention: Identify how the infill is held and which components must remain together.
- Adjustment: Establish what can be aligned on site and what requires factory preparation.
- Attachment: Locate the actual structural support, not just the visible deck surface.
- Access: Confirm how installers and maintenance personnel reach the connection.
That review also prevents a common procurement mistake: ordering the visible fitting before confirming the less visible components.
Use the accompanying video as a visual reference, while keeping the project drawings and manufacturer instructions as the installation authority.
Mount style is the next decision, but it should follow the supporting construction rather than dictate it.
Common Spigot Mount Styles and Where Each One Fits
Choose the mounting arrangement before finalizing the finish schedule. A fitting that looks right in elevation may require access, supporting steel, or slab preparation that the current construction detail doesn't provide.
The following comparison is a design-review starting point, not a declaration that every product in a category suits every listed substrate. Manufacturer documentation and the engineered connection must establish suitability.
Spigot Mount Styles at a Glance
| Mount Style | Best Substrate | Typical Use | Key Trade-off |
|---|---|---|---|
| Round base top-mount | Verified concrete, structural timber support, or steel | Decks and balconies with accessible top fixings | Visible footprint and coordination with the walking surface |
| Square base top-mount | Verified concrete, structural timber support, or steel | Projects using rectilinear architectural details | Base geometry must accommodate the approved anchor layout |
| Side-mount or fascia | Engineered slab edge, structural fascia, or steel | Edges where preserving walkable space matters | Side access and edge connection need early resolution |
| Core-drill | Suitable concrete confirmed by the designer | Patios and pool surrounds seeking a recessed appearance | Drilling, embedment, waterproofing, and drainage require coordination |
| Standoff or adjustable | An approved engineered support | Offset alignments or controlled adjustment | Adjustment limits and the final load path need documentation |
Resolve the construction sequence
For a top-mounted fitting, show what sits beneath the base. Don't let a decking board, paving unit, or finish layer stand in for a structural attachment detail.
For fascia mounting, check access before accepting the appearance. A connection that can be installed before cladding may be difficult to inspect after the edge is enclosed.
Core-drilled arrangements deserve coordination before anyone starts drilling. Ask the responsible designer to approve locations and identify constraints within the slab. An existing concrete surface isn't permission to select hole positions on site.
Adjustable hardware can help achieve the approved alignment, but it shouldn't become an improvised remedy for an unsuitable substrate. Require the supplier to state the permitted adjustment and locking procedure.
A different mounting style is a connection redesign, not simply an aesthetic substitution.
Round versus square is often an architectural preference. Top-mounted versus side-mounted or recessed is a much larger decision because it changes the installation approach and the connection that needs approval.
Stainless Steel Grades and Finishes Explained
Grade selection controls corrosion resistance, but it doesn't replace fabrication quality or surface detailing. For chloride exposure, the useful distinction between common grades is more specific than the sales term marine-grade.
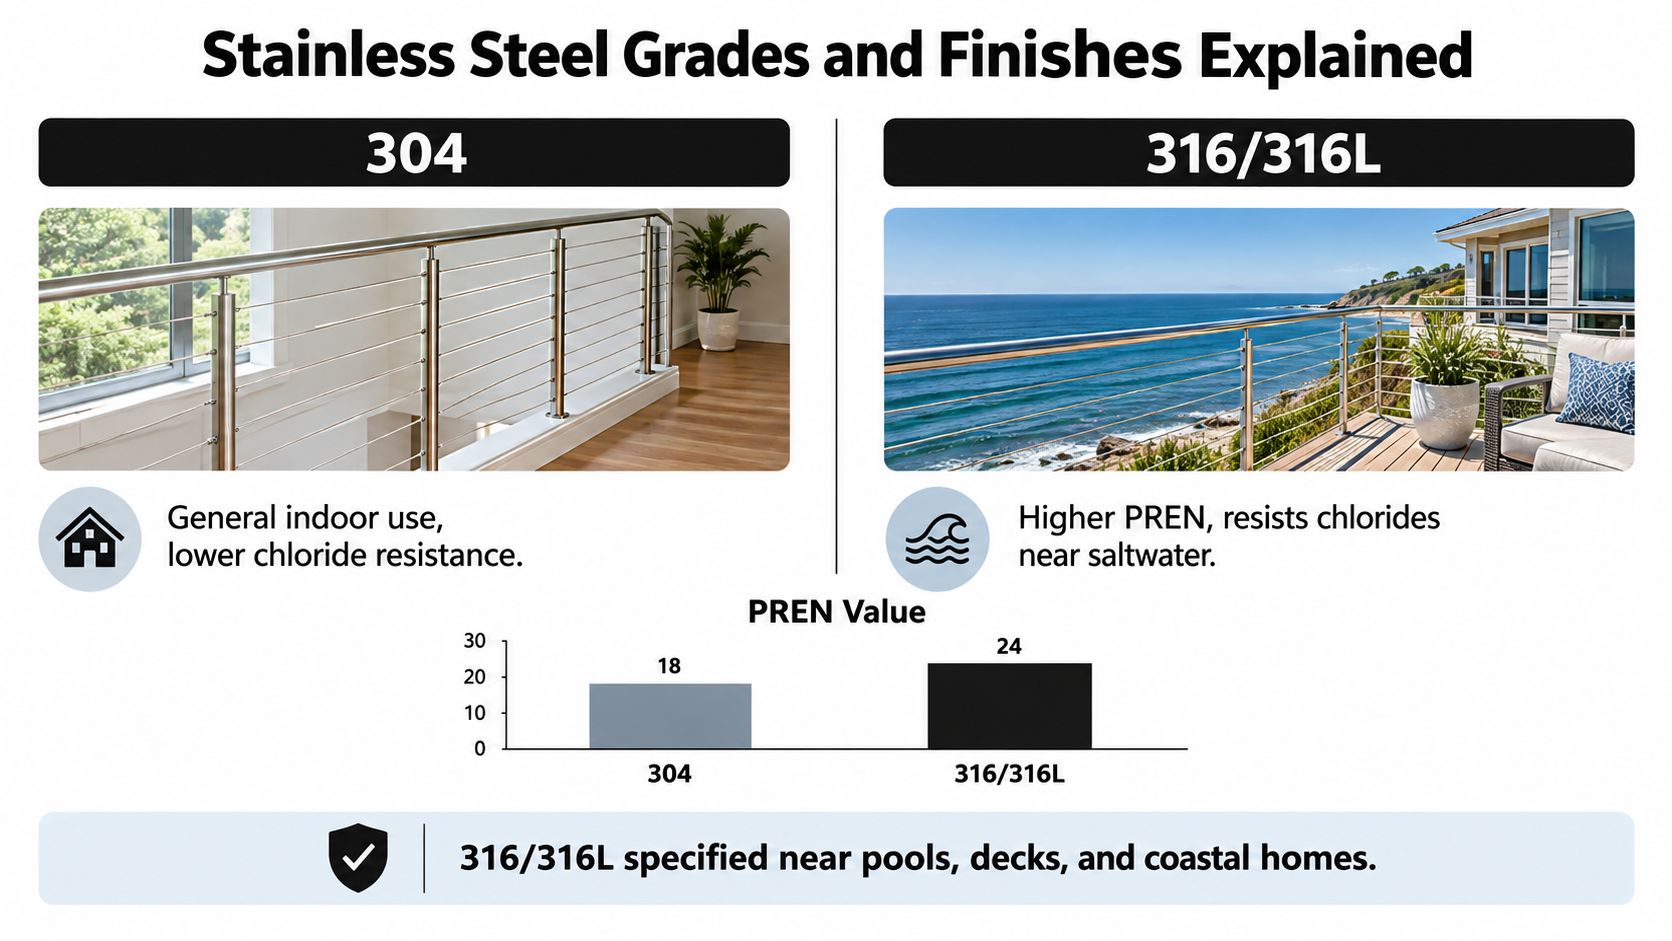
ATI reports a Pitting Resistance Equivalent Number of approximately 24.2 for 316/316L, compared with 19.0 for 304, using PREN = Cr + 3.3Mo + 16N. Its technical data also gives water-exposure guidance of approximately 100 ppm chloride for 304 and up to approximately 2,000 ppm for 316 under the stated conditions, not universal service limits or service-life guarantees (ATI stainless steel technical data).
Use those figures to understand the alloy comparison, not to certify a balcony from a water sample. Temperature, oxygen availability, contamination, and crevice geometry still affect performance.
The illustration provides a broad comparison; use the cited technical values above for the specification.
Specify the finished surface
For coastal, poolside, and de-icing-salt exposure, 316/316L is the stronger starting point because molybdenum improves resistance to localized chloride attack. For welded fabrication, request the appropriate low-carbon grade and a documented post-fabrication surface treatment.
Localized corrosion deserves particular attention: pits can penetrate without proportionate visible surface loss. Temperature, chloride concentration, oxidant availability, and pH influence that process, which is why a clean surface and well-resolved geometry matter alongside alloy selection (government-supported localized-corrosion research).
Specify an approved finish sample rather than relying on a finish name alone:
- Satin or brushed: Review the actual texture, polishing direction, and cleaning instructions. Don't accept an unnecessarily coarse surface to conceal handling marks.
- Mirror: Mock it up under the proposed lighting and confirm the owner accepts the reflections and visible handling marks.
- Bead-blasted: Request evidence of suitability for the exposure and the specified cleaning method before approving it externally.
A smooth, clean finish is a sensible corrosion-control objective. Appearance preferences should be resolved within that requirement, not used to override it.
Load Ratings, Glass Compatibility, and Inspection Items
A spigot's advertised strength isn't enough to approve a guard. Request documentation for the proposed assembly, including its infill, supports, fixings, and installation conditions.
Treat dimensional labels in generic graphics as illustrative. The glass thickness and construction must come from the approved system documentation, not a universal range.
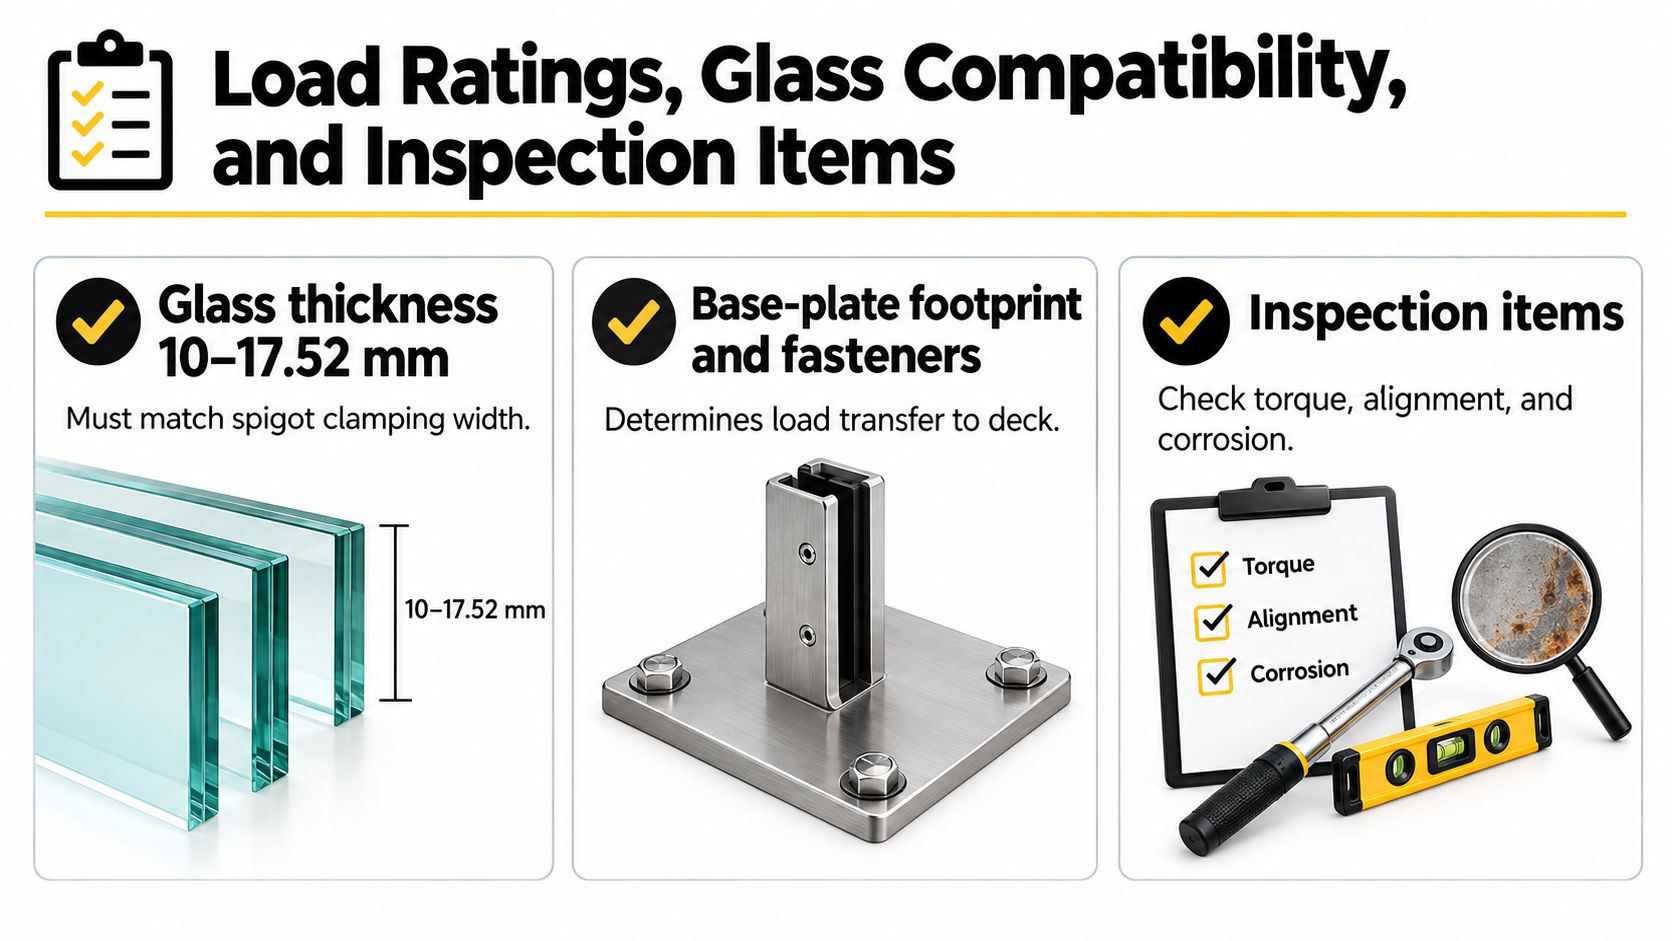
Review compatibility before ordering glass
Ask the glass supplier and fitting supplier to agree on panel construction, thickness, edge preparation, any holes or notches, and the required clearances. A clamp opening alone doesn't establish compatibility.
The same applies to replacement components. Don't substitute gaskets, pressure plates, or retaining screws solely because they appear to fit. Obtain approval for the exact assembly.
For broader layout decisions, the overview of glass deck railing systems provides context, but project-specific engineering and the applicable local building code remain the basis for approval.
Make inspection measurable against documents
The contractor's inspection record should compare installed work with the approved detail:
- Anchorage: Record the specified anchor type, embedment, installation procedure, and supporting material.
- Base connection: Check footprint, fastener positions, alignment, and the manufacturer's tightening requirements.
- Glass interfaces: Inspect seating, gasket condition, clearances, and any chipped or cracked edges.
- Water management: Confirm that sealant and waterproofing follow the detail without obstructing intended drainage.
- Completion: Photograph accessible connections before covers or surrounding finishes conceal them.
Don't invent a universal tightening torque or anchor embedment. Those values belong to the approved product and connection design.
Approval boundary: A component test doesn't automatically approve a different substrate, fixing arrangement, or infill.
Also keep standards within their scope. Spigot-and-socket wastewater pipe requirements are not structural railing approval. Require evidence relevant to a guard or balustrade assembly rather than accepting a standard number without checking what it covers.
If the installed substrate differs from the drawings, stop and obtain a revised detail. A tested fitting can't compensate for an unverified attachment.
Matching Spigots to the Environment They Sit In
A sheltered inland deck, a sea-facing balcony, and a humid indoor pool shouldn't receive an identical hardware schedule. Record the exposure explicitly, including whether rain washes the fittings and whether staff can reach every base.
World Stainless identifies locations within roughly 5–10 miles of salt water as potentially exposed, while stressing that weather and local conditions matter. Its guidance favors 316/316L for most coastal architectural applications, rather than treating distance alone as a pass-or-fail boundary (World Stainless architectural corrosion guidance).
Use an exposure-based starting schedule
These are proposed specification directions, not universal alloy approvals or fixed cleaning intervals.
| Environment | Grade starting point | Finish direction | Drainage detail | Maintenance approach |
|---|---|---|---|---|
| Inland exterior | Consider 304 after assessing local exposure | Smooth, clean architectural finish | Keep the base free of persistent ponding | Establish a seasonal baseline and adjust after inspection |
| Urban pollution | Assess deposits and washability before accepting 304; consider 316/316L | Favor a readily cleanable sample | Provide access to remove accumulated residue | Inspect sheltered surfaces and clean when deposits develop |
| Coastal air | Start with 316/316L | Prefer smooth, well-finished surfaces | Avoid sheltered salt-collecting pockets | Schedule freshwater washing according to actual salt deposition |
| De-icing-salt zones | Start with 316/316L and assess direct splash | Specify a cleanable finish | Separate the base from contaminated runoff where possible | Clean after salt exposure and check accumulation points |
| Chlorinated indoor pools | Obtain specialist assessment rather than assuming standard 316L is sufficient | Require exposure-specific finish approval | Eliminate persistent wet crevices | Integrate cleaning and inspection into facility operations |
Specify the actual location
An inland entrance beside a salted walkway may need more attention than a rain-washed coastal fitting. Likewise, a pool installation requires a distinction between an outdoor surround and a humid, poorly washed indoor location.
The discussion of stainless steel and steel corrosion can support the owner's understanding, but the project schedule should name the conditions at each railing run.
Record adjacent metals, likely chemical contact, and cleaning access. If a proposed detail requires special isolation or creates a concealed wet pocket, resolve that condition in the drawing instead of adding a general maintenance disclaimer.
The useful deliverable is a location-specific schedule that the supplier, installer, and facilities manager can all follow.
A Practical Specification Checklist for Architects and Contractors
A workable specification states what must be supplied, what must be demonstrated, and what the owner must receive. Avoid mixing performance requirements with unsupported assumptions about a catalog photograph.
Put these requirements into the submittal
- Exposure: Identify the location, salt sources, chemical exposure, and sheltered surfaces.
- Material: State the selected grade and require material confirmation.
- Finish: Approve a sample and the post-fabrication cleaning treatment.
- Mounting: Identify the mounting style, structural substrate, and approved fixing detail.
- Infill: Confirm glass or cable compatibility through the responsible suppliers.
- Water management: Show drainage, waterproofing interfaces, and inspection access.
- Evidence: Request relevant test documentation, engineered details, and installation instructions.
- Handover: Include cleaning procedures, defect reporting, and a site-specific inspection schedule.
For cable projects, the stainless steel cable railing hardware guide helps frame the component discussion before requesting a coordinated quotation.
Compare packages without confusing system types
One option from Ultra Modern Rails is the Cable Railing - Indoor Stainless Steel 36" or 42" System - High End Custom Railing. Its catalog describes predrilled mounting posts, mounting bolts, a top handrail, and marine-grade stainless steel cable and hardware.
That's a post-based cable package, not evidence of suitability for a glass-spigot detail. Compare coordinated systems where appropriate, but still request the mounting documentation and project-specific confirmation needed for the proposed installation.
The Maintenance Routine Most Owners Skip Until It Is Too Late
Stainless steel isn't maintenance-free, including when the specified grade is appropriate. Owners need a written routine that covers both cleaning and signs of a deteriorating connection.
Stainless steel remains vulnerable to salt air, chemicals, pollution, and high humidity, so regular cleaning and maintenance are still necessary (stainless steel care and maintenance guidance). Don't hand over the railing with only an instruction to check it periodically.
Establish a seasonal routine and exposure triggers
Use seasonal inspections as a proposed baseline, then increase attention where site conditions warrant it. Coastal salt deposition, de-icing splash, and pool cleaning operations should trigger additional checks rather than waiting for the next calendar entry.
- Wash exposed hardware: Rinse with fresh water using the manufacturer's approved cleaning procedure, paying attention to sheltered areas.
- Control contamination: Keep carbon-steel debris and contaminated tools away from finished stainless surfaces. Refer embedded contamination to a suitable specialist.
- Review cleaning chemicals: Don't apply chloride-rich or otherwise incompatible products without manufacturer approval.
- Inspect the base: Look for persistent moisture, deteriorated sealant, blocked drainage, discoloration, and visible pitting.
- Check the assembly: Report loose fasteners, damaged glass, deteriorated interface components, or movement during normal use.
Separate cleaning from corrective work
Photograph defects and record their location. If there's movement, cracked glass, or suspected anchorage deterioration, restrict access as appropriate and call a qualified professional rather than attempting an undocumented adjustment.
For hospitality and commercial properties, assign responsibility to a named role and retain inspection records. Cleaning staff should know which observations require escalation, while maintenance personnel should have the approved drawings available.
The goal isn't merely a brighter fitting. It's an inspectable, serviceable connection whose condition the owner can track.
Ultra Modern Rails offers custom-made cable railing systems with coordinated posts, handrails, cable, and hardware for residential and commercial projects. Visit Ultra Modern Rails to request a custom quote, and include your site exposure, substrate, preferred mounting arrangement, and inspection-access requirements so the connection can be discussed before you order.